- API Key Authentication
- Change Proxy IP
- List Available Locations
- Change Proxy Location
- Change Proxy IPv4 Rotation
- Change Proxy IPv4 Whitelist
- Append Proxy IPv4 Whitelist
- Get IP Auth info
- IOS
- MacOS
- Android
- Windows
- FoxyProxy
- SwitchyOmega
- Chrome
- Firefox
- Brave
- AdsPower
- Multilogin
- GoLogin
- Bit Browser
- Ghost
- Sphere
- Clone Browser
- Octo
- Incogniton
- Dolphin
- AntBrowser
- VMLogin
- HideMyAcc
- Accepted Payment Methods
- IP Blocking
- IP Whitelisting Authentication
- IP Rotating
- Scrapy with ProxyPanel
- Buying with Cryptocurrency
- Selenium with ProxyPanel
- Urllib3 with ProxyPanel
- Requests with ProxyPanel
- Playwright with ProxyPanel
- HTTPX with ProxyPanel
- Beatutiful Soup with ProxyPanel
Integration
SwitchyOmega
SwitchyOmega is a browser extension crafted to streamline the management and switching of various proxy settings within your browser. It empowers you to effortlessly transition between different proxy servers and establish specific proxy rules for individual websites, thereby enhancing your browsing experience.
Setting Up Proxies using SwitchyOmega
Start by installing the SwitchyOmega extension, which is available on both the Chrome Web Store and Firefox add-ons.
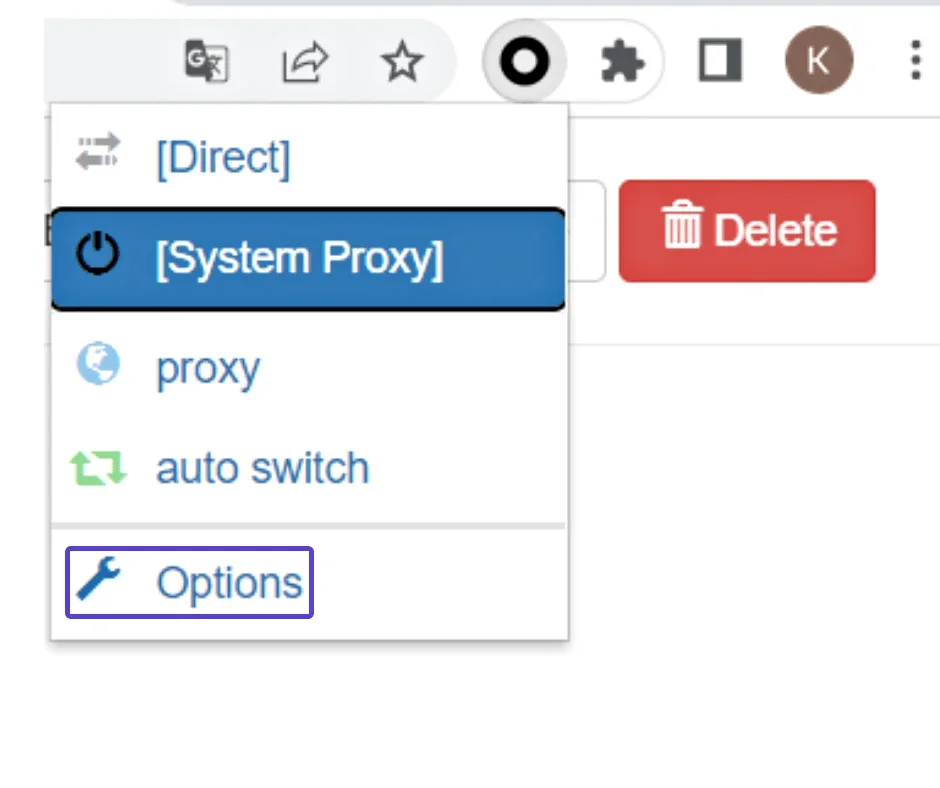
Once the installation is complete, access the SwitchyOmega Settings.
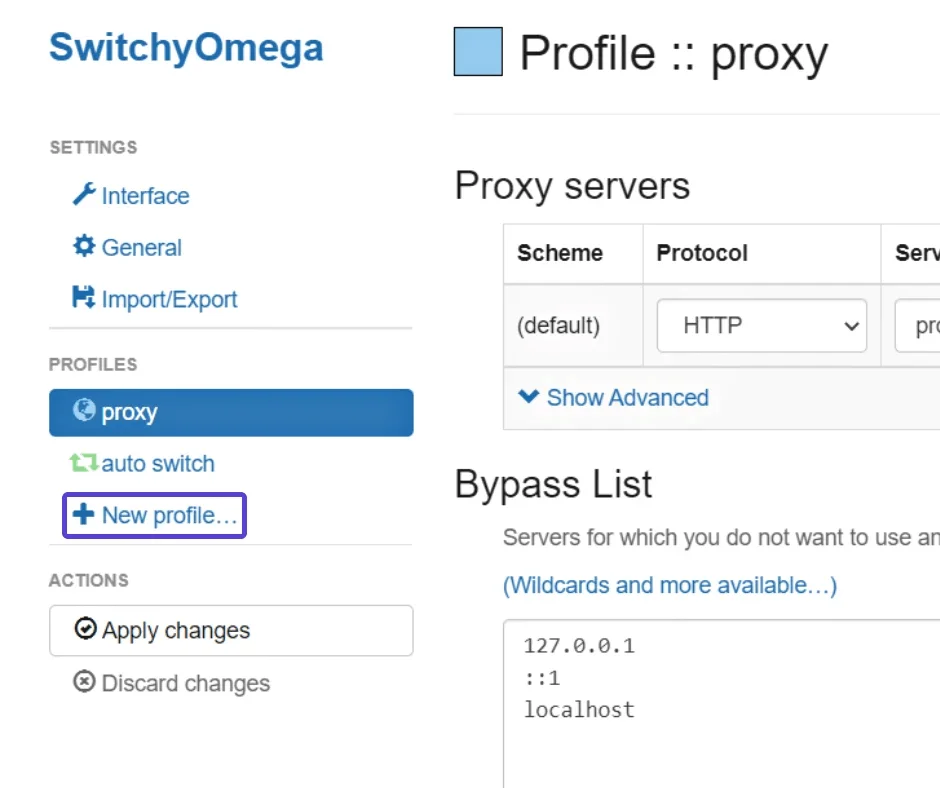
To begin, click the "New Profile" button to create a new profile.
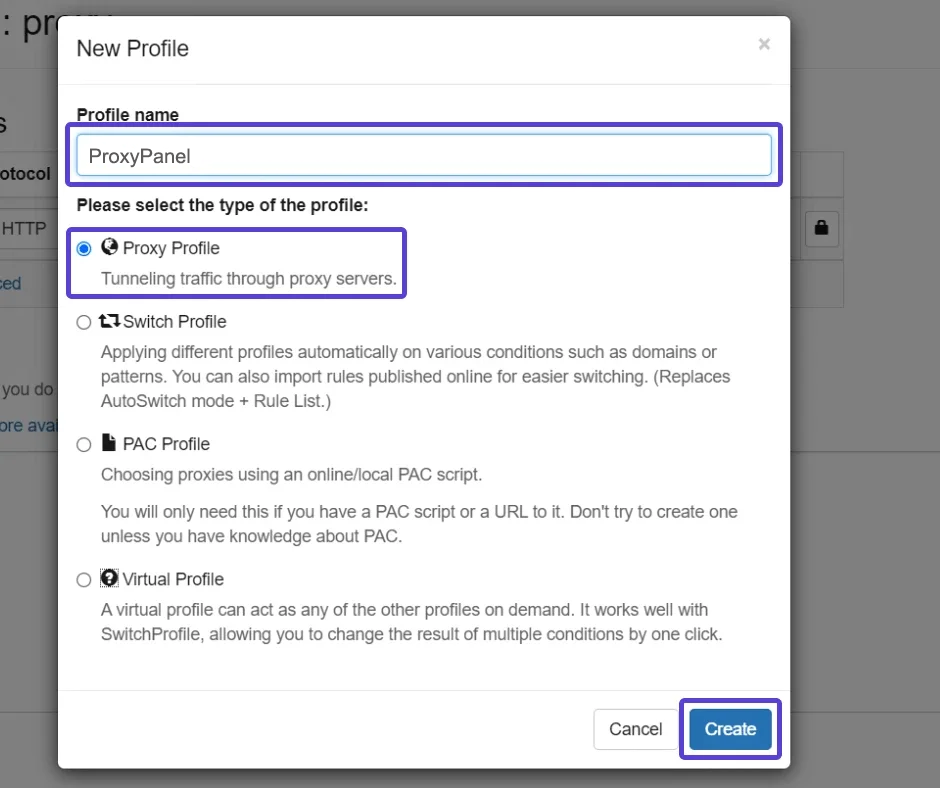
Configure your new profile:
- Give your profile a name that is easy to remember
- Choose the Proxy profile type, then click the Create button
Go to your Dashboard panel and navigate to the "My Proxy" section to view your IP information.
Click on the "Show Password" button and enter your account password to display your proxy password.

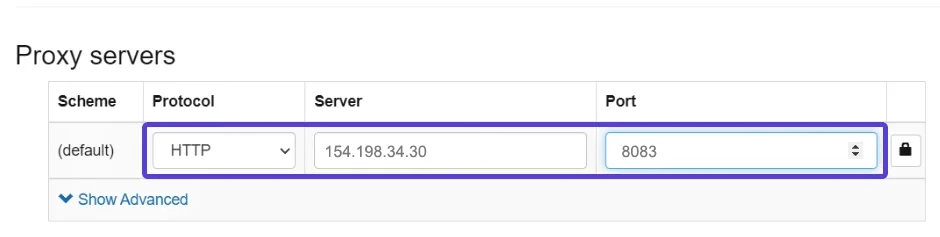
Fill in the proxy settings based on the data in your control panel.
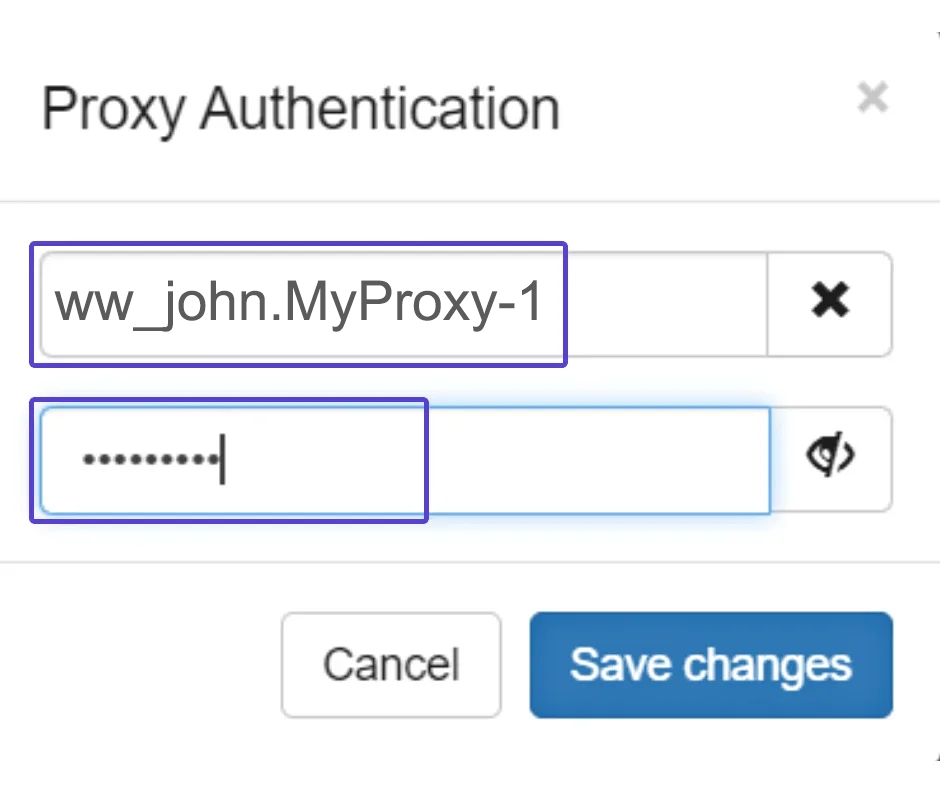
After clicking the "Lock Icon" button, you will be prompted to enter your username and password to save your settings.
Click on "Save" to apply your changes, then click on "Apply Changes" on the left side to ensure they take effect.